pcb
Download Pcb-layout Schematic design
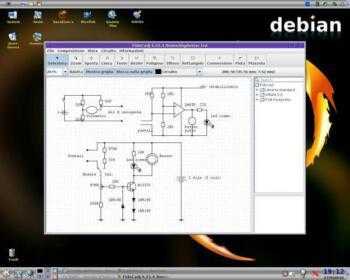
Download FidoCadJ Simple drawing for electronics
FidoCadJ is an easy to use graphical editor, with a library of electrical symbols and footprints (traditional and SMD). It ...
Download Pcb-layout Schematic design Simulator
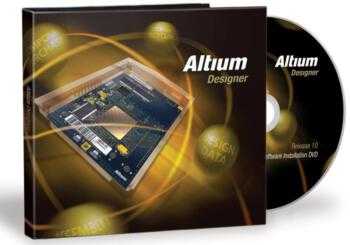
Download Altium Designer 16 EDA software for developing electronic systems
Download Altium Designer 16 EDA software for developing electronic systems. Altium Designer is a software package for EDA PCB, FPGA ...
Tips Tutorial Videos
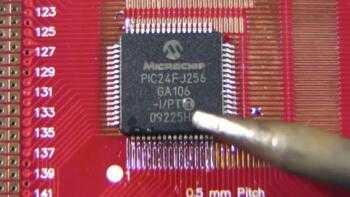
Soldering Tutorial SMD Part 3 – Surface Mount – SMD Component
Soldering Tutorial SMD Part 3 – Surface Mount – SMD Component. Part 3 of the hand soldering tutorial. This time ...
Tips Tutorial Videos
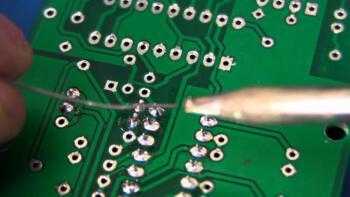
Soldering Tutorial video Part 2
Soldering Tutorial ,Beginners guide to learning how to hand solder. Soldering Tutorial
Tips Tutorial Videos
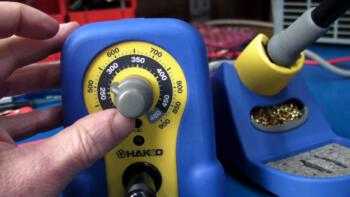
Soldering Tutorial Part 1 – Tools
Soldering Tutorial Part 1 – Tools Dave takes you through everything you need to know to do good quality soldering. ...
Tips Tutorial Videos
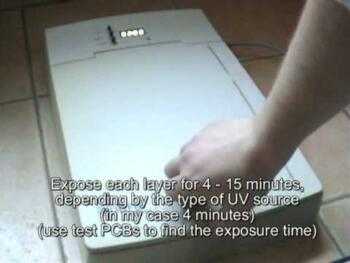
Making double layer PCB at home – video tutorial
Making double layer PCB at home – video tutorial, Small tutorial, how to make PCBs at home, using photoresist method. ...
Tips Tutorial Videos
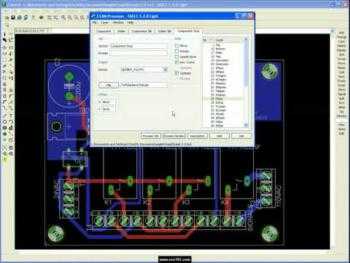
Creating Gerbers using EAGLE
Creating Gerbers using EAGLE, Tutorial showing how to quickly and easily create gerbers in EAGLE. Creating Gerbers using EAGLE
Tips Tutorial Videos
Video tutorial How to Create Part in Eagle CAD
Video tutorial How to Create Part in Eagle CAD, A video demonstration on how to add parts in Eagle. Video ...
Tips Tutorial Videos
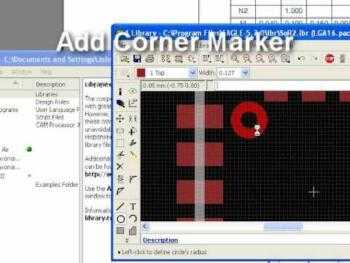
Cadsoft Eagle Cad video Tutorial Lesson 11
Cadsoft Eagle Cad video Tutorial Lesson 11 – run the Gerber generation script. In this lesson, we add on a ...
Tips Tutorial
Autodesk Eagle Cad video Tutorial Lesson 12
Autodesk Eagle Cad video Tutorial Lesson 12 – top six questions. In this lesson, we will cover the top six ...
Thank you!